Scarlet + Davinci Resolve Colour Grading Breakdowns

Reduser member Philipe Ratton posted some awesome R3Ds from his latest short film currently in production. I couldn't resist grading these. You can find the original Reduser post with the R3Ds here.
Grading is super easy when you start with quality, well shot source material. That was definitely the case this time! There are so many possibilities with this footage. It truly can be pushed and pulled in any direction.
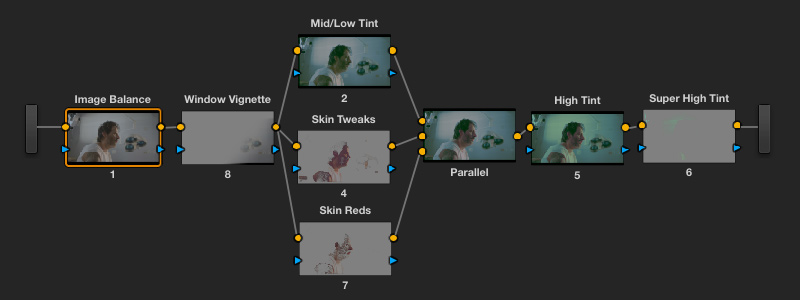
Resolve node structure and setup
Below is the Resolve node structure used for all these grades. You can see what effect each node has on the image in the video above.
Usually I also have a sharpen node right at the end, which I disable prior to outputting the footage. It's really only for preview purposes since I prefer the sharpen tools in After Effects.
For some of these grades I've also used Resolve's built in noise reduction. I find it helps clean up secondary qualifications. NR is always applied on the first or second node so that everything downstream benefits from a cleaner image. My settings are usually NR Threshold: 1.200, NR Blend 0.2-0.5, NR Radius: 1 for final output, 4 during grading.
Setup on this is the standard REDcolor3 / REDlog Film but this time its being graded through a film print emulation LUT. More on film print emulation LUTs to come in future posts...
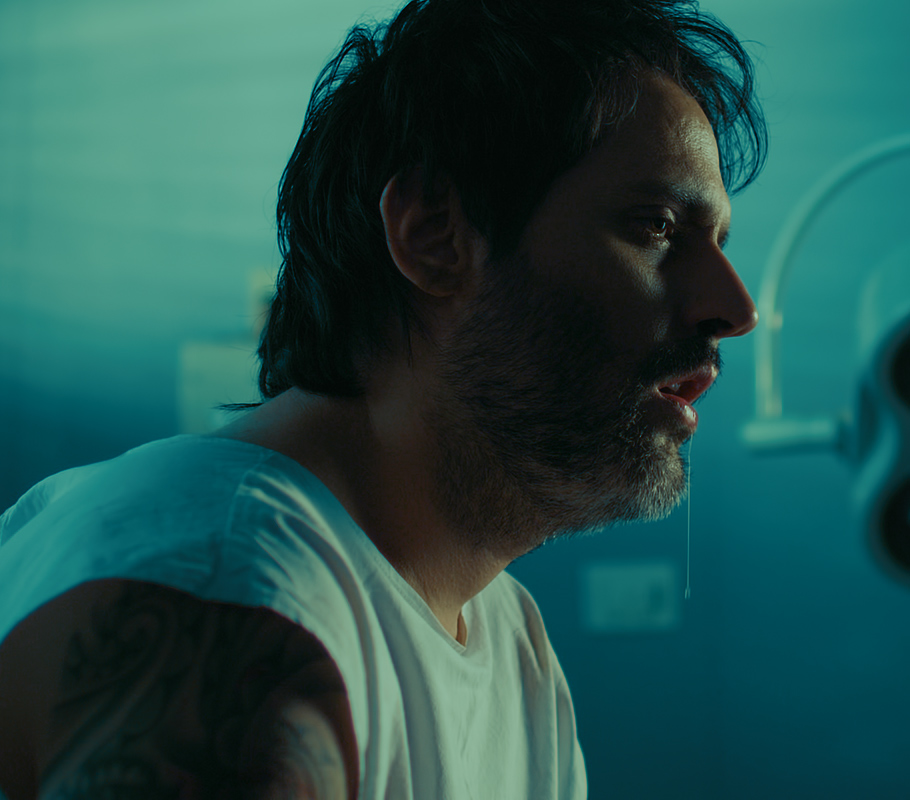
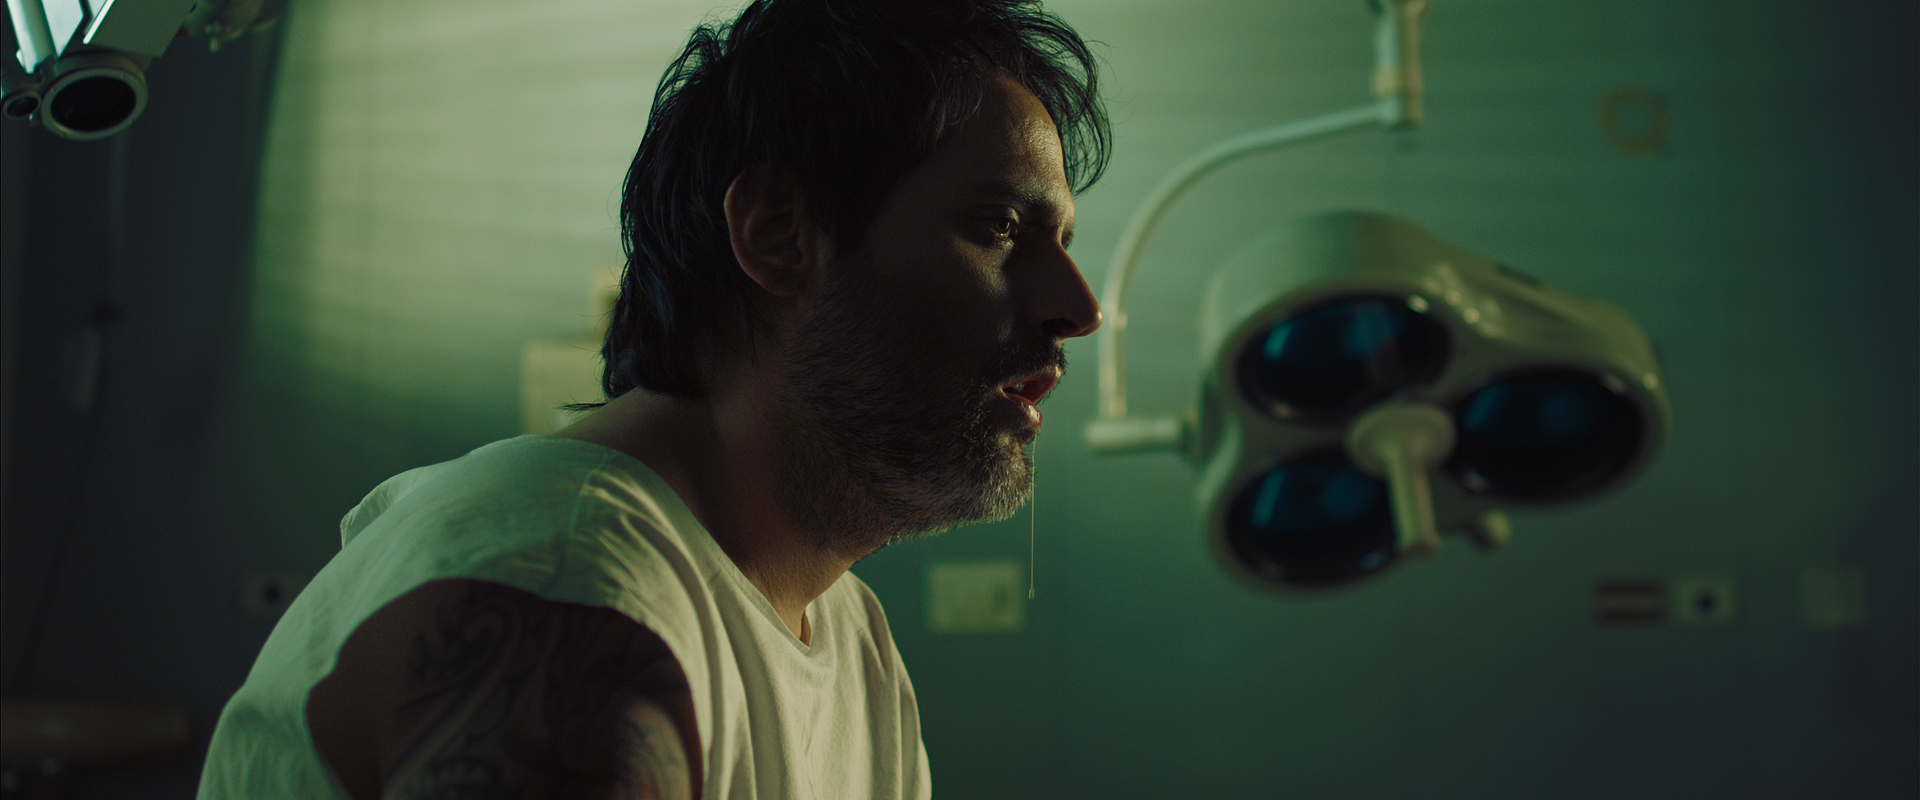
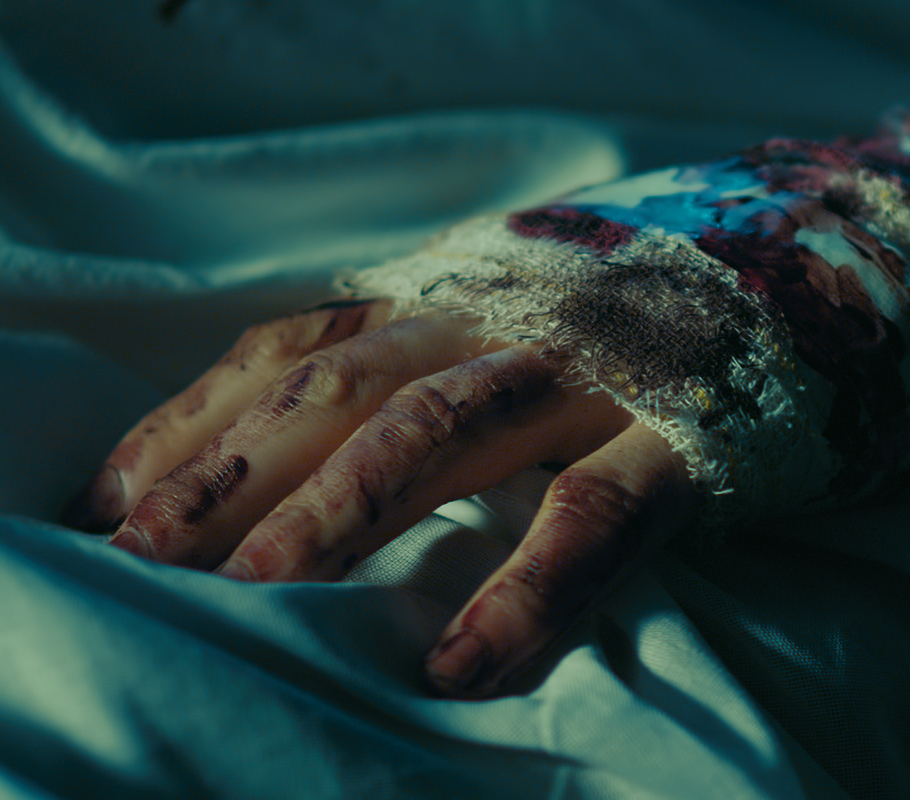
The first grade is the standard teal / orange look that is popular in feature films these days. The second grade has more of a sickly green bias. And the third keeps things looking relatively neutral whilst still retaining some moodiness.
Click images for full size 1080p versions.