Kodak 2393 ACES PowerGrade
Kodak 2393 ACES PowerGrade

When it comes to ease of grading and a unified grading experience regardless of the camera used, it’s hard to go past ACES.
When I first started working with ACES one of the things I missed the most was the ability to use print film emulation (PFE) LUTs. I experimented with converting existing PFE LUTs to work within the ACES pipeline and was met with limited success. And In some ways shoehorning existing LUTs into the ACES pipeline kind of defeats the point of using the ACES workflow in the first place.
Wanting to take advantage of ACES without giving up PFE LUTs, I decided to simulate the effect of a PFE LUT by developing an ACES PFE PowerGrade. This Kodak 2393 ACES PowerGrade is the result.
If you’re not familiar with ACES and the benefits that a scene referred workflow offers check this ACES Introduction on Mixing Light.
Sample Images
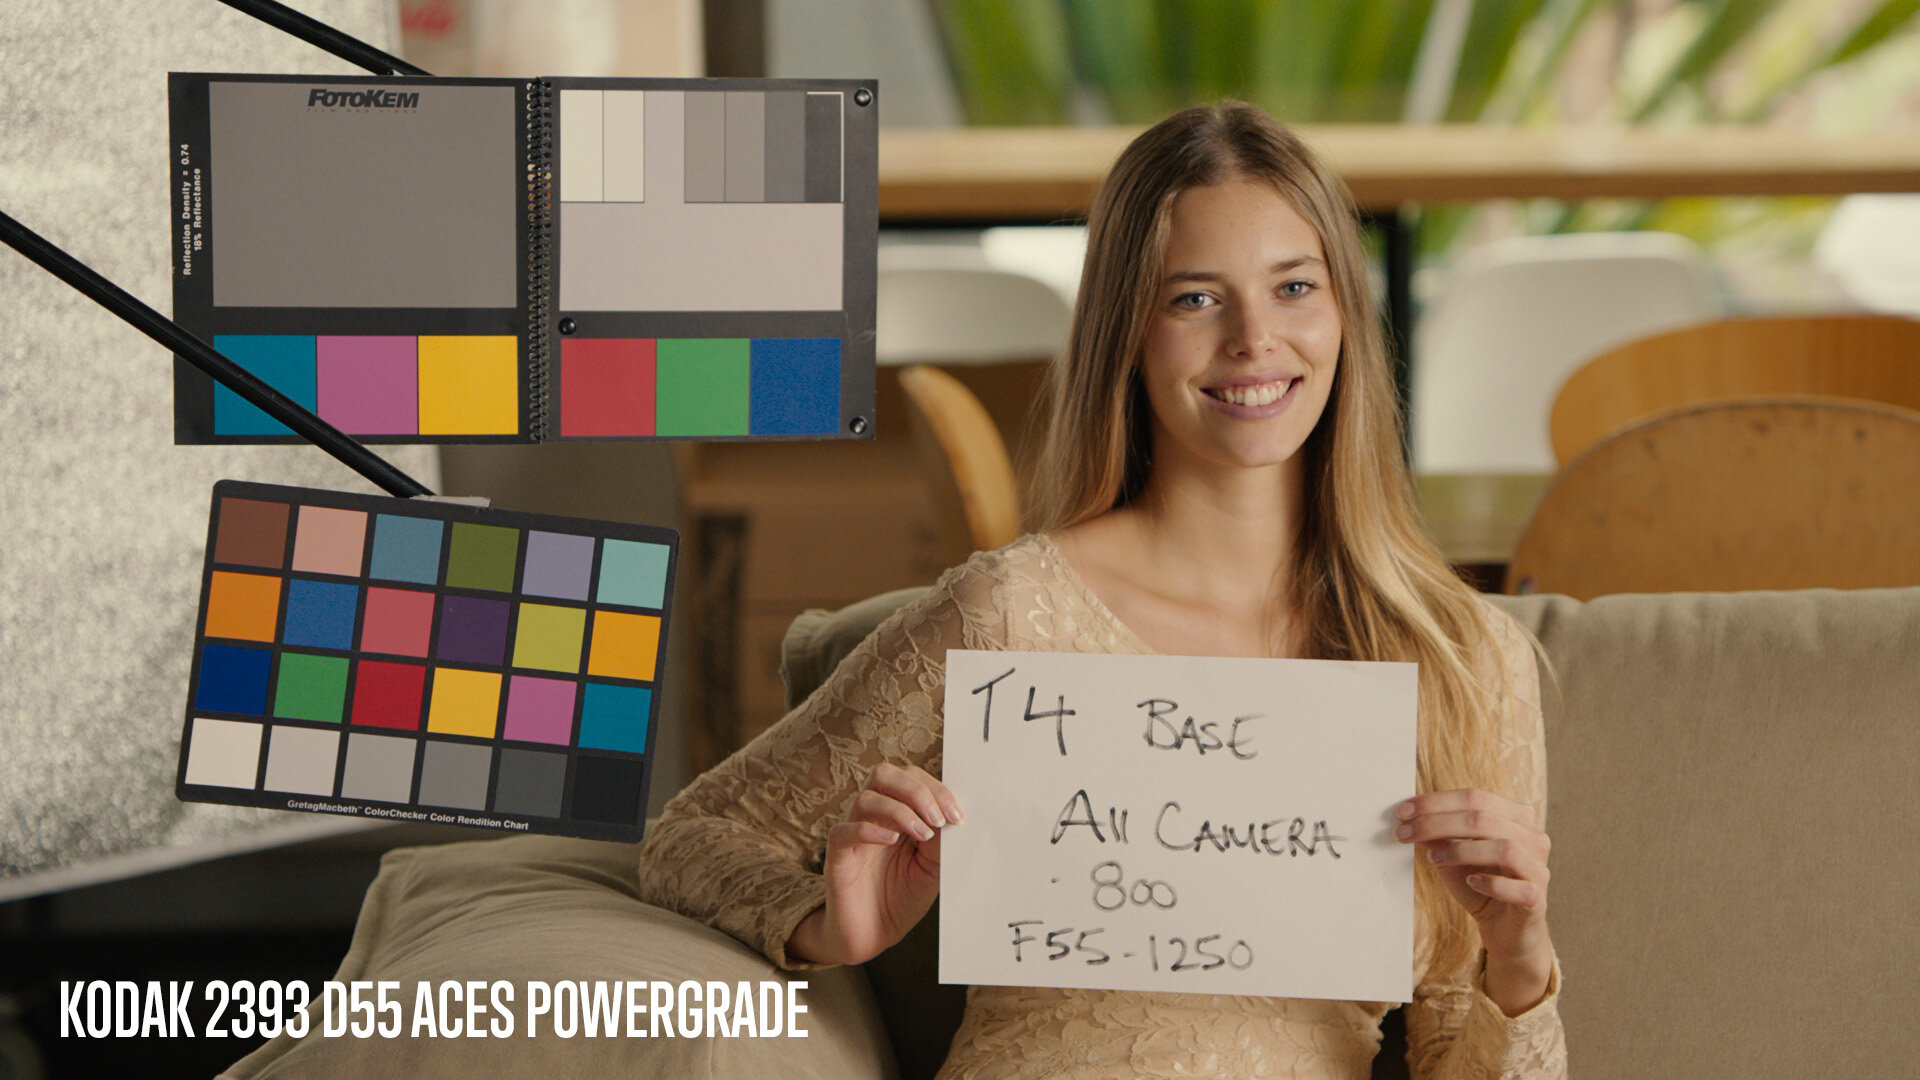
One of the benefits of using a PFE simulation in a unified scene referred workflow like ACES is that it’s about as easy to get a good result from a Blackmagic Design Pocket 6K as it is an Alexa. Because all cameras are unified into a common colour space, the grading process is greatly simplified.
Most of these images have been graded with not much more than a slight adjustment to the offset wheel and a slight increase in saturation plus the occasional Power Window.
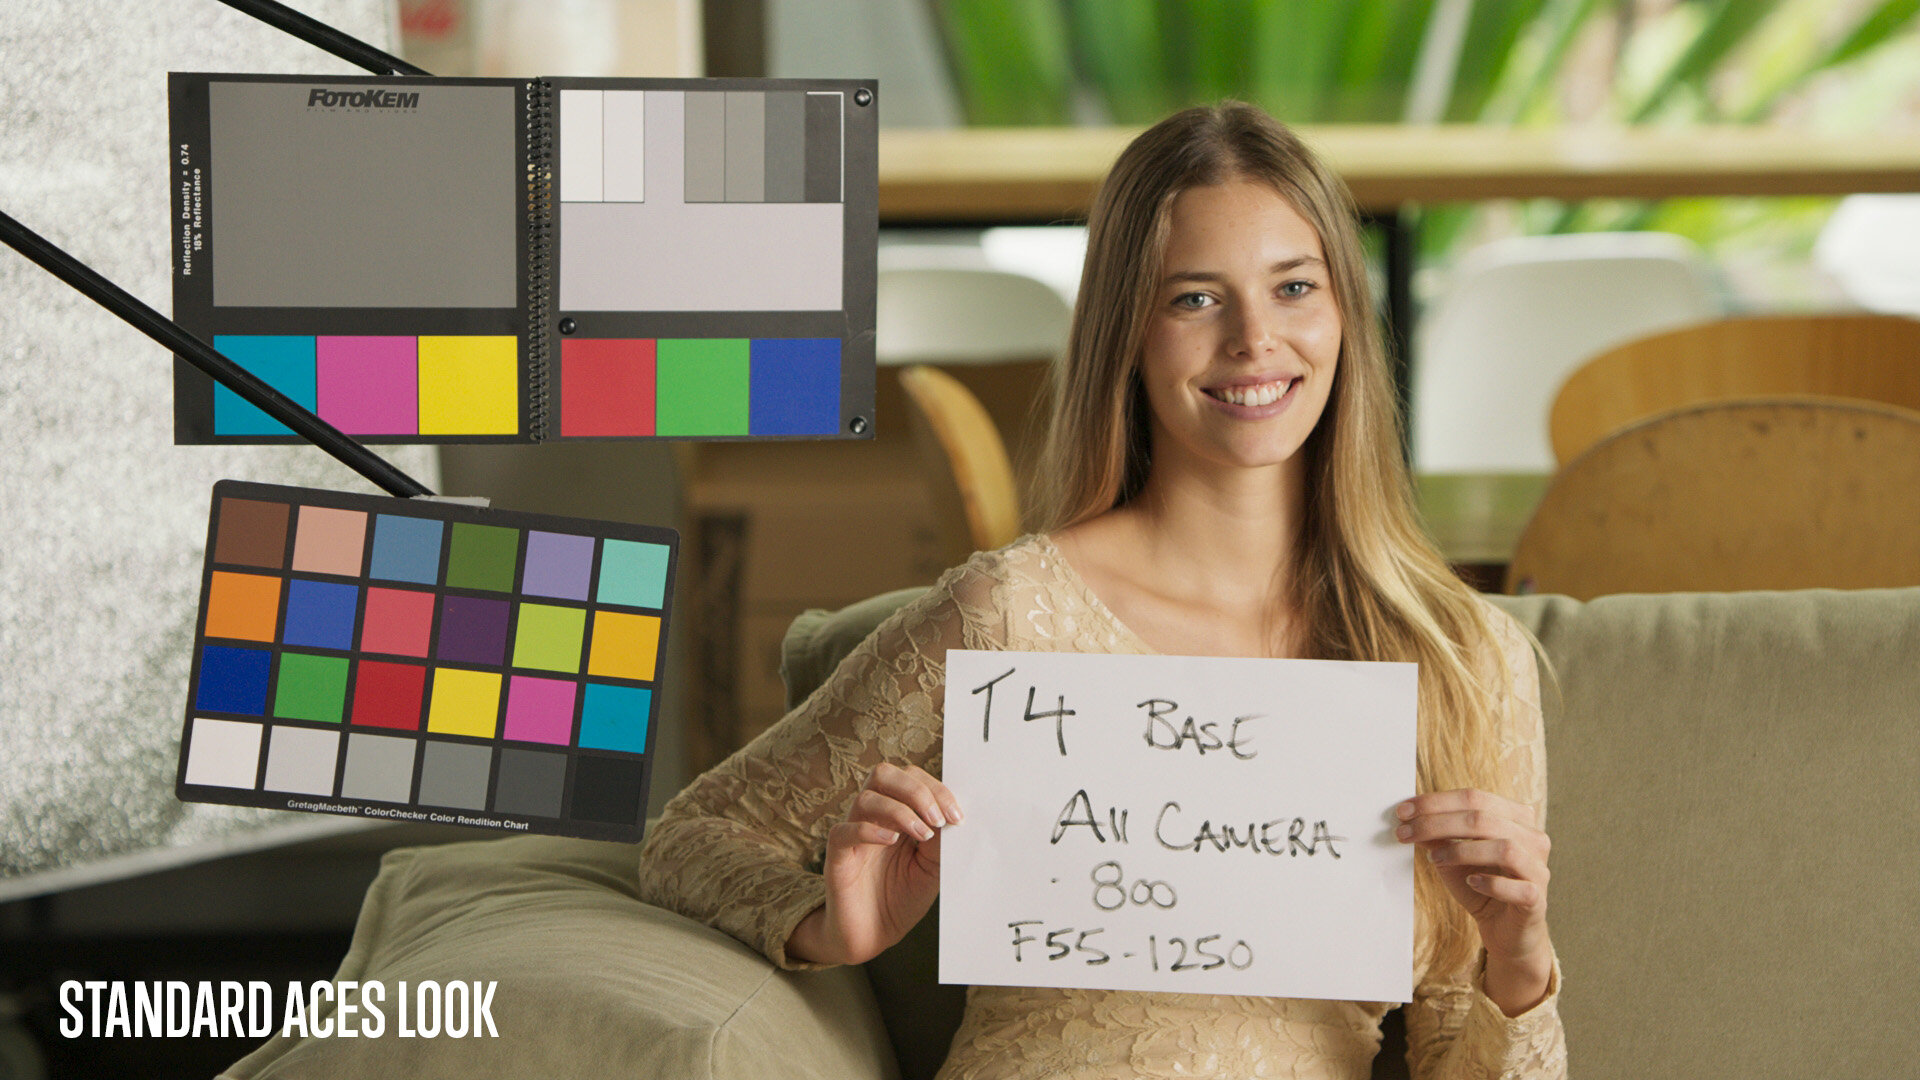
I’ve included the ungraded default ACES look for comparison after each finished look.
The below images are all shot in 12:1 BRAW on the Pocket 6K. The raw source footage and corresponding grades are included in the download.
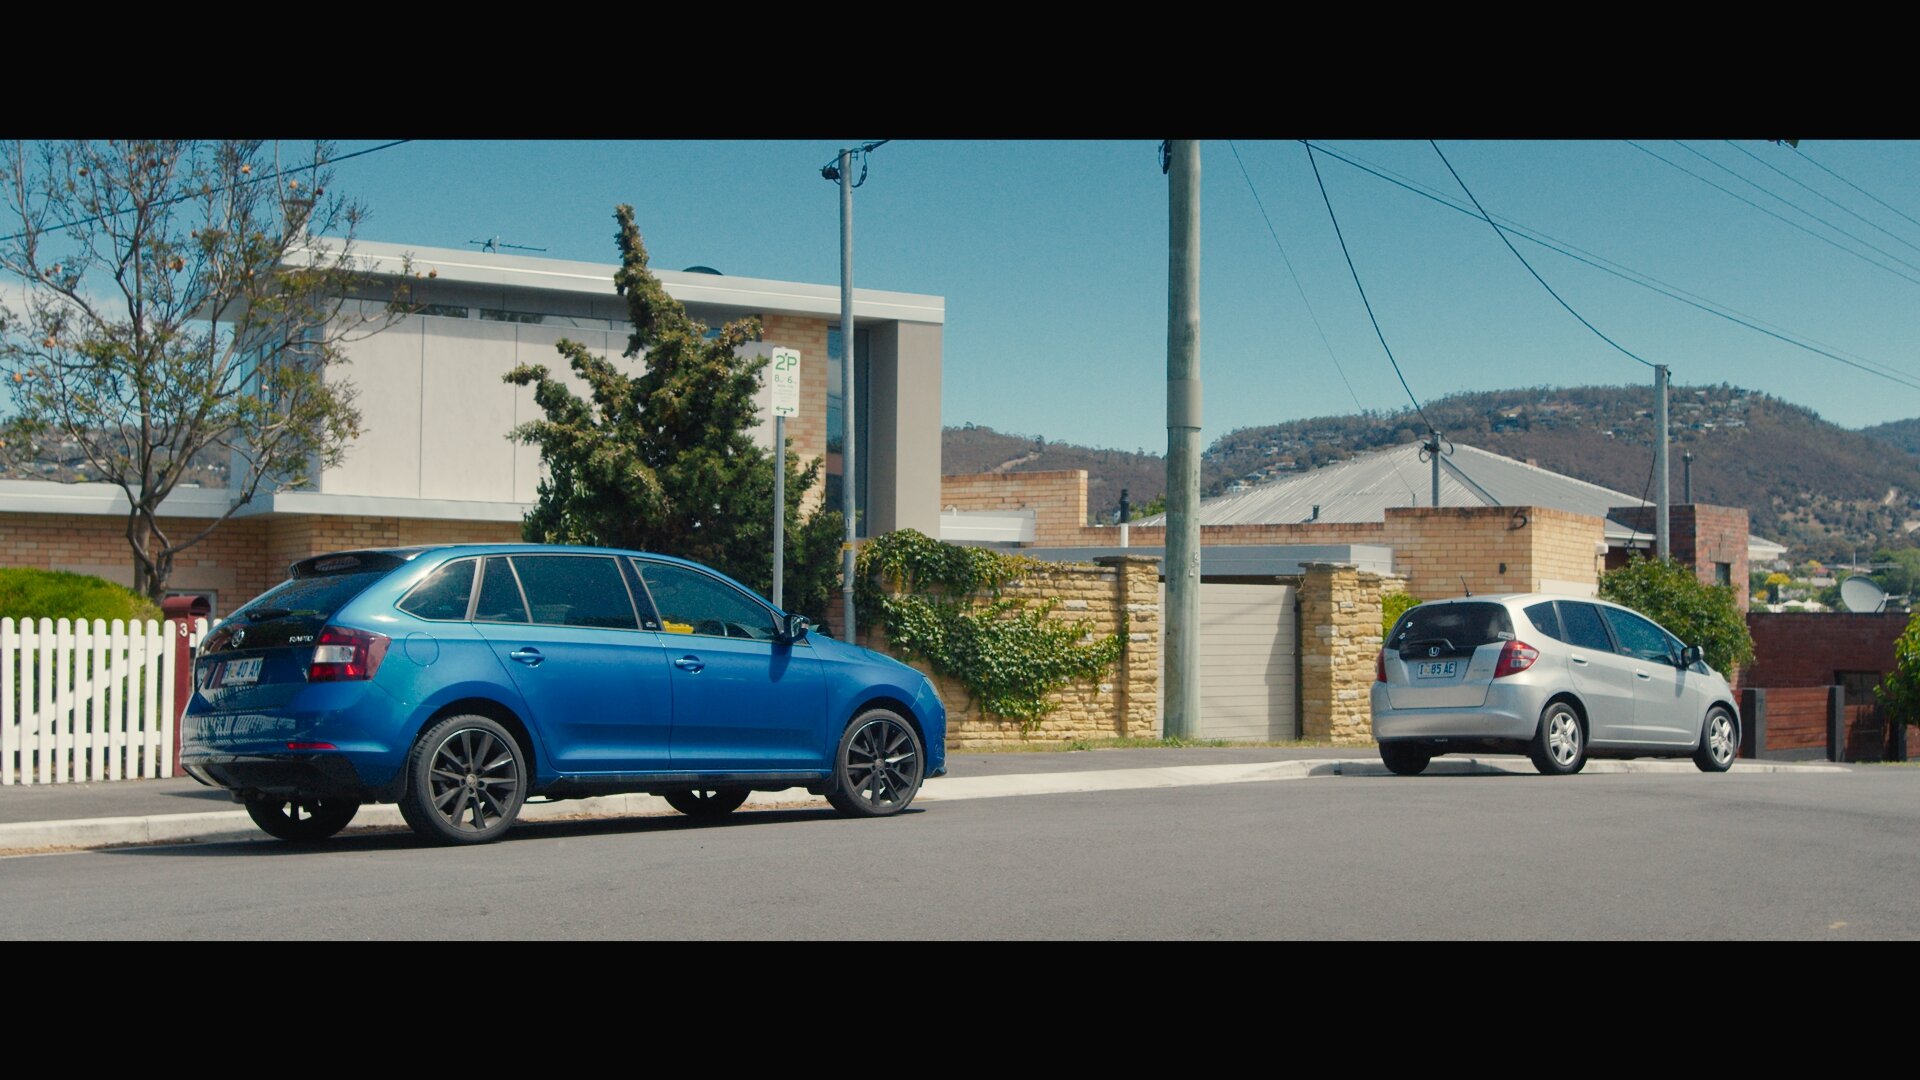
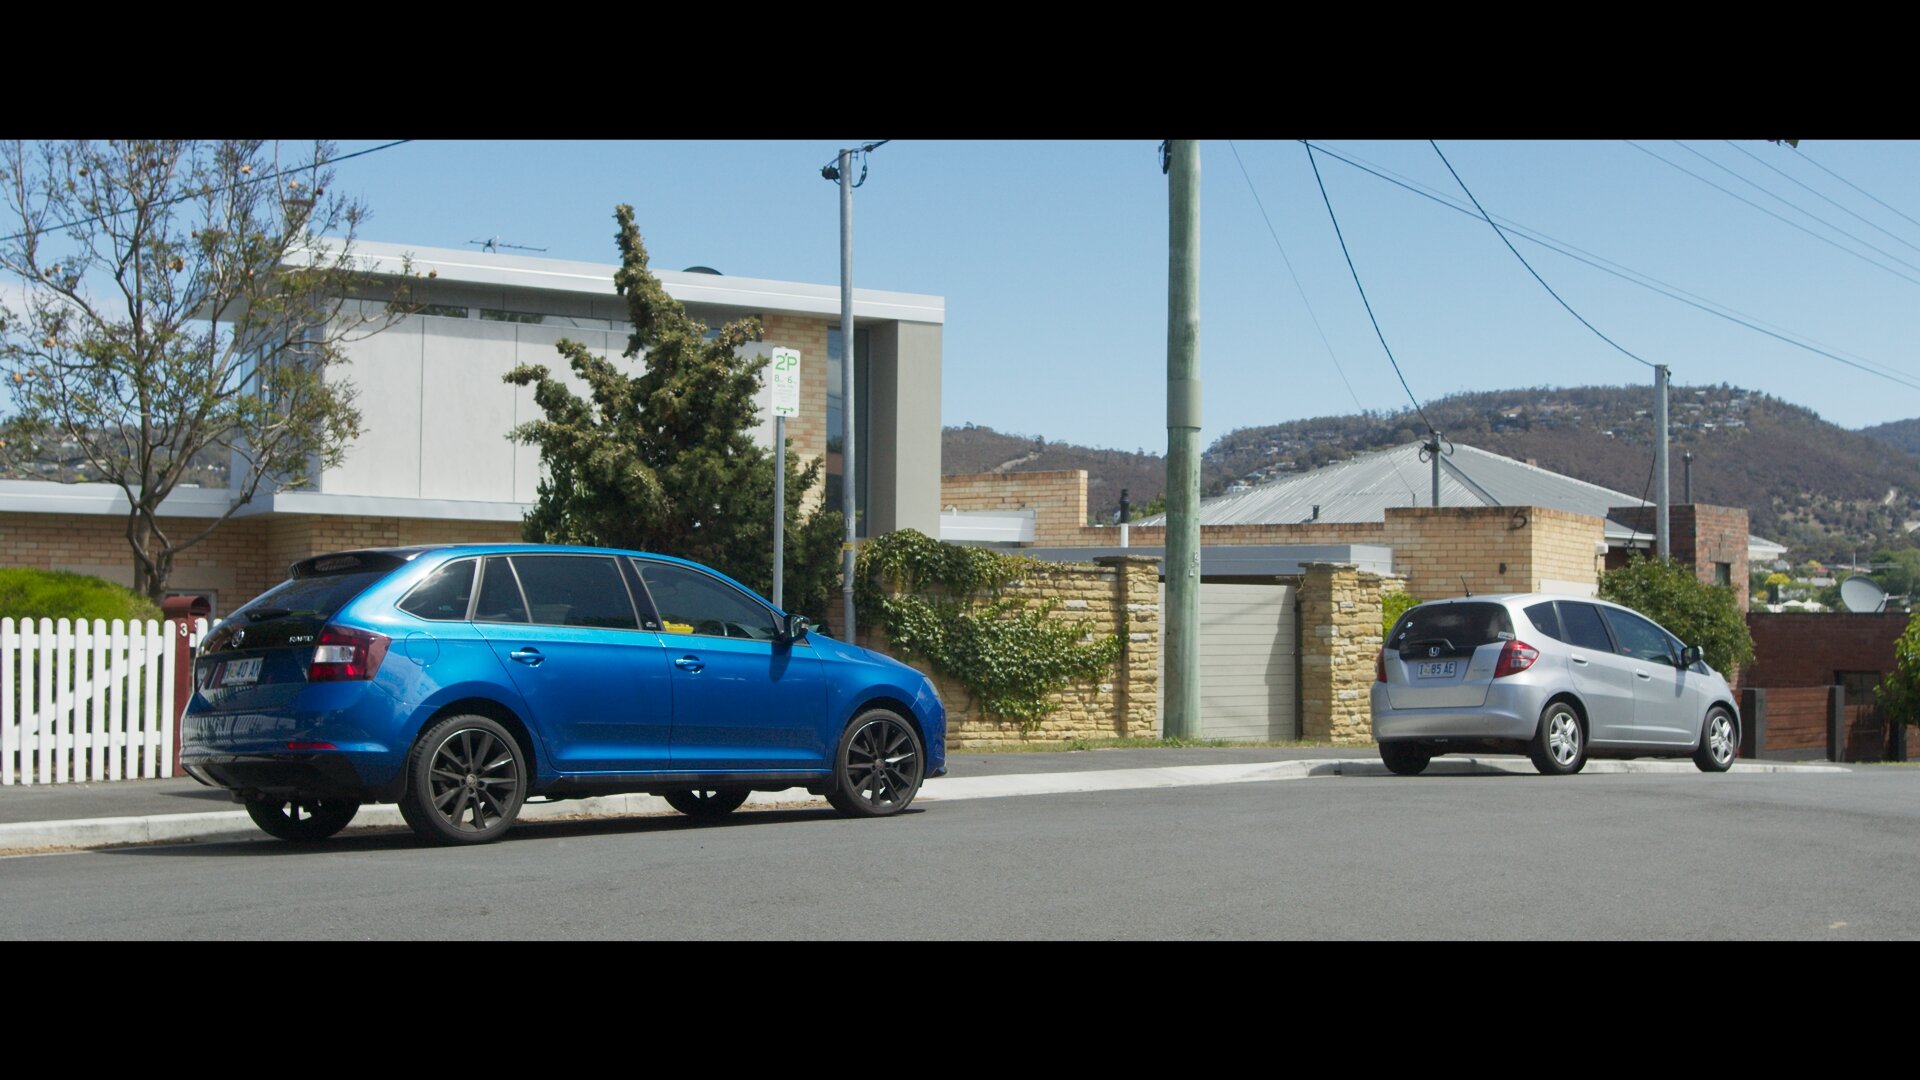


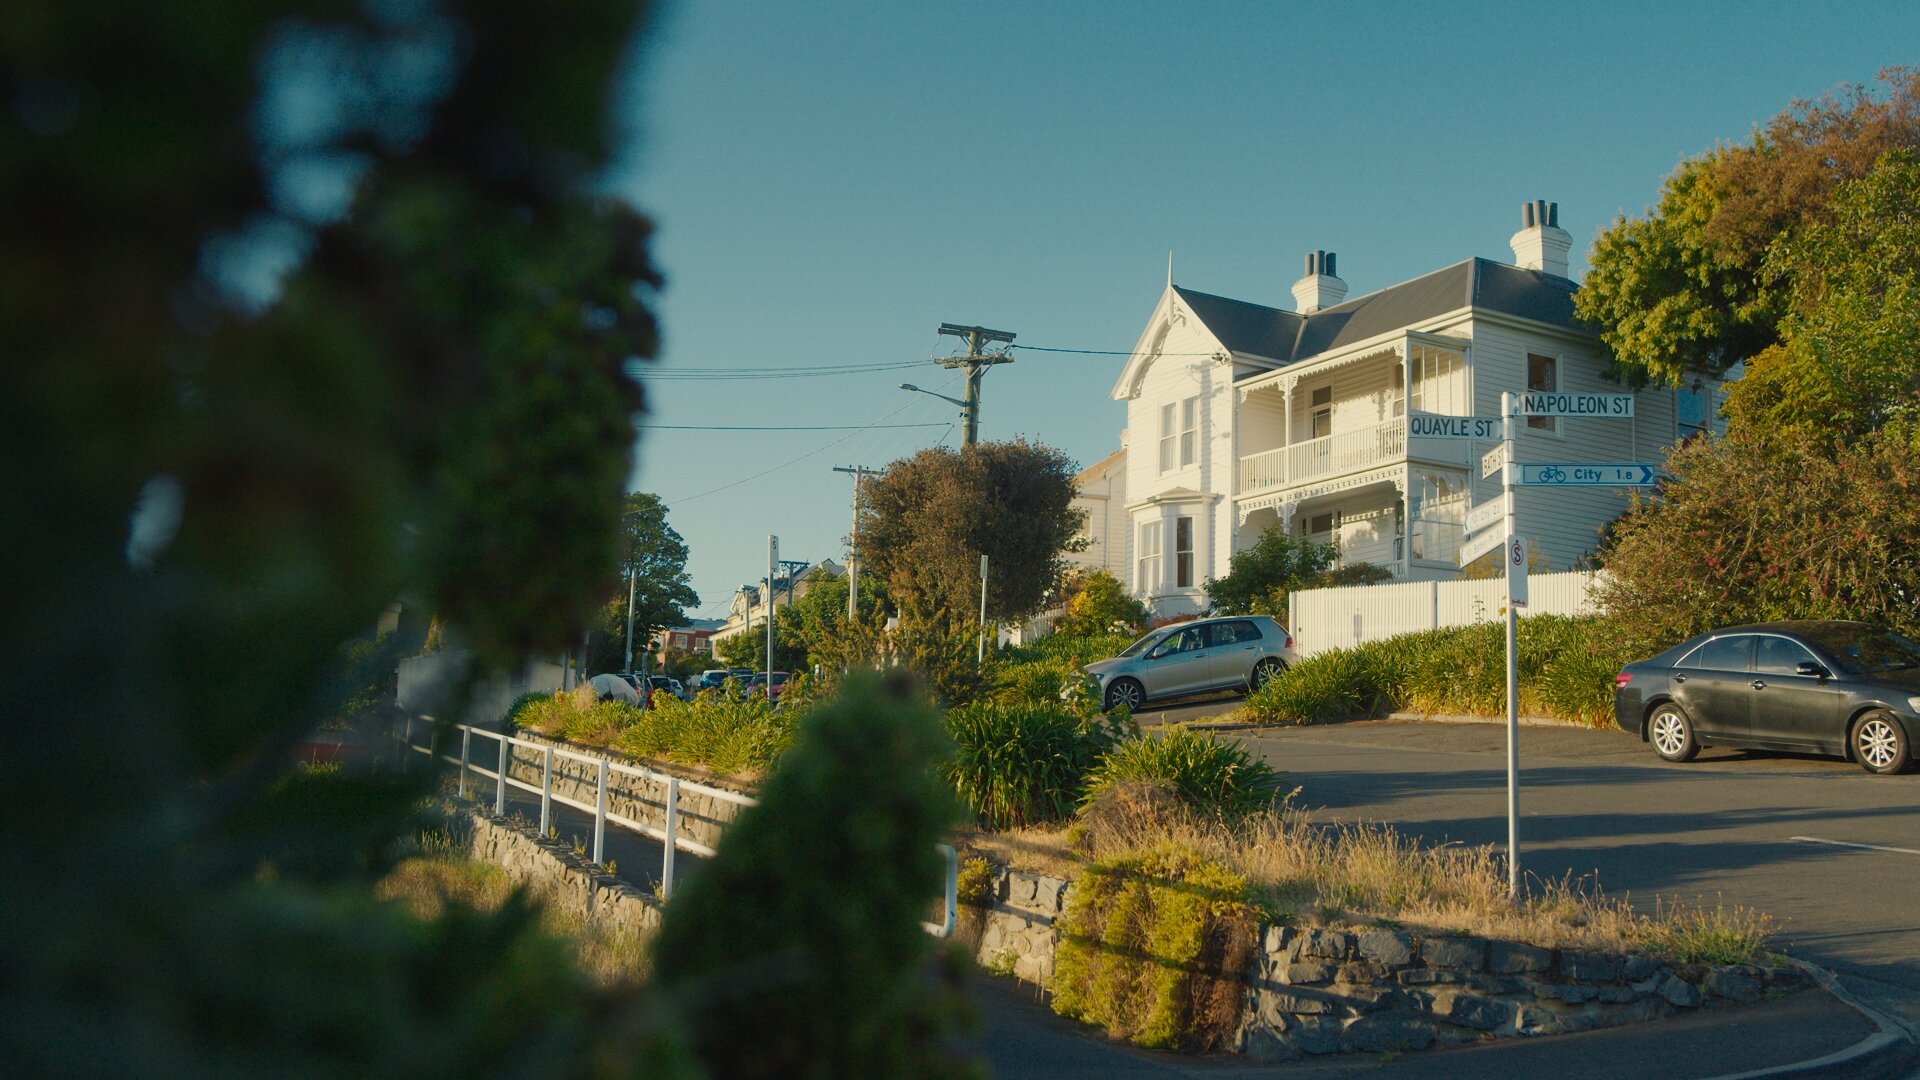
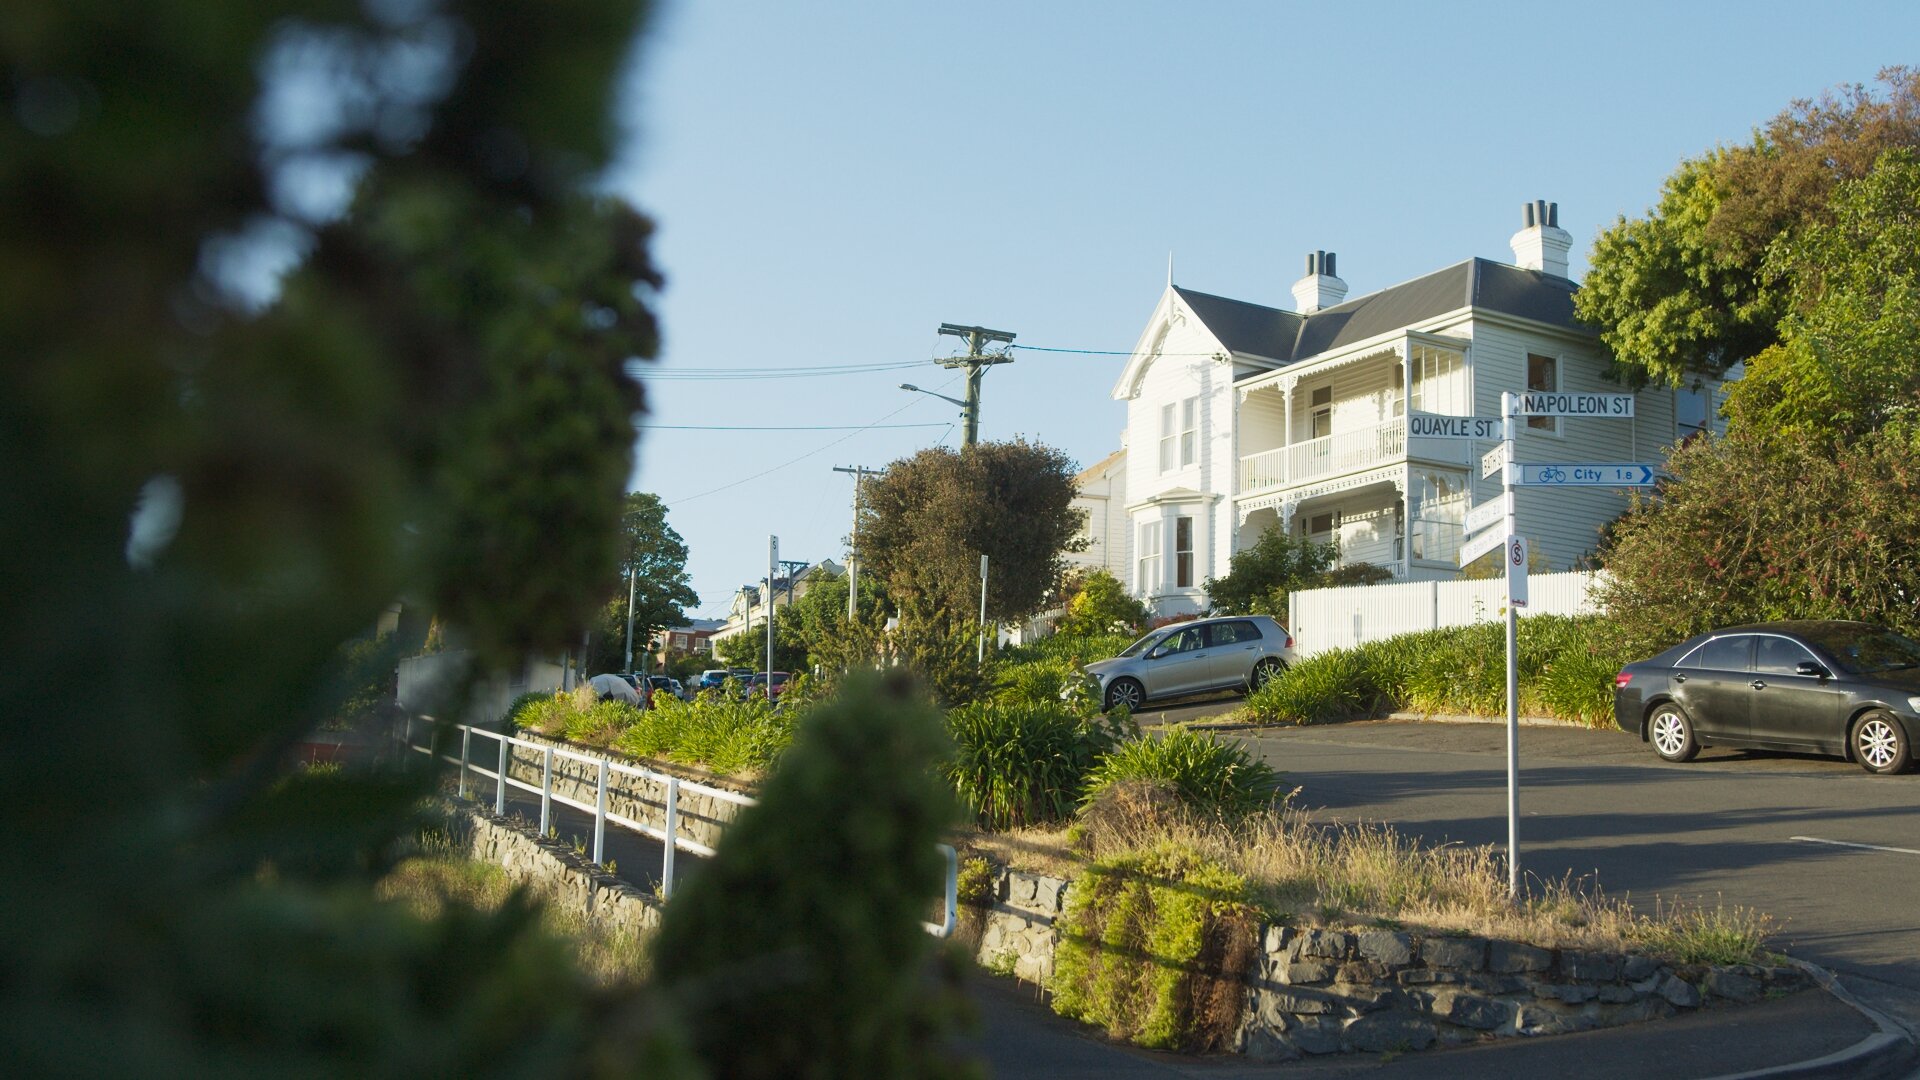


Kodak 2393 ACES PowerGrade vs THE Standard ACES Look
Installing The PowerGrade
To install the PowerGrade in Resolve, second mouse button click in the Gallery window background and select Import. Navigate to the directory where the zip file was extracted and select the .dpx file and click import. If it doesn’t let you select a file, you might need to click the options button at the bottom of the import window and then select .dpx or .drx from the list, then try again.
Once installed the PowerGrade can be applied to the selected shot by middle mouse button clicking on the still in the gallery. Or with a second mouse button click on the still and then select Apply Grade.
Before using this PowerGrade Resolve needs to be setup for the ACES workflow. Scroll down for instructions.
Installing the Sample Footage and Sample Grades
Add all the footage from the Sample Grades / Footage folder into the media pool or drag directly into a timeline. Import the sample grade .dpx files into the Gallery using the same method used to import the PowerGrade above. Apply the grade by middle mouse button clicking on the corresponding still in the gallery. Or with a second mouse button click on the still and then select Apply Grade.
Node Structure Overview

Node 01 is a Gamut Limiter OFX. This node limits super saturated colours which can cause issues when working in ACES. Through testing I’ve found this to produce better results than the often recommended Neon Suppression LMT. This node only needs to be enabled if you are experiencing strange behaviour from super saturated colours. For most footage it will have no effect.
Node 02 is the 2393 Colourimetry. This node modifies the ACES colours to more closely match the 2393 colour gamut. By adjusting the key output gain control in the key tab of this node it’s possible to control the intensity of the general PFE look being added to the footage. Node 03 Is an alternate version that removes the warm push in the greens, allowing for more natural looking greens.
Node 04 adds the tints in the highlights and shadows present in the 2393 PFE LUT. Node 05 is an alternate version that I’ve been using that adds extra blue to the shadows.
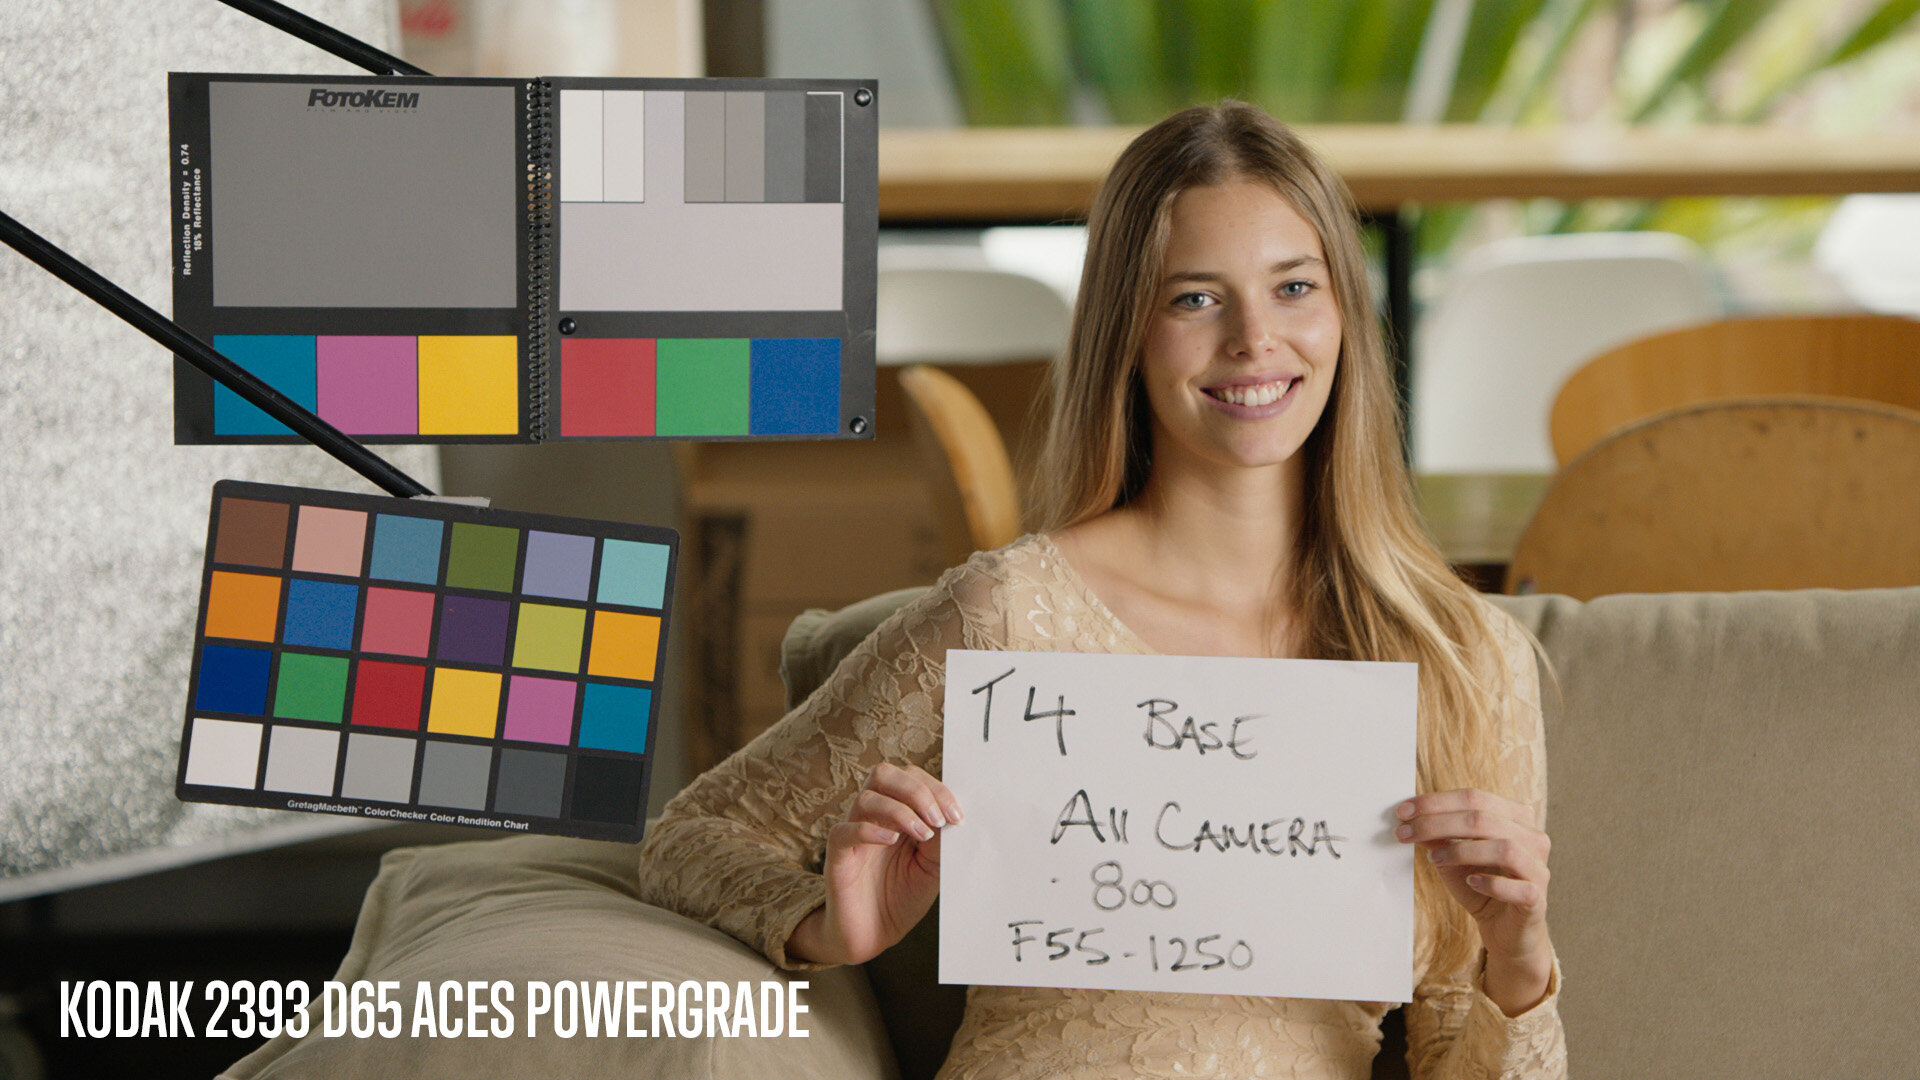
Node 06 simulates the native white point of the 2393 PFE LUT. Node 07 simulates a D55 (5500K) white point. When these nodes are enabled you will notice a slight drop in luminance, this is an accurate attribute of the real LUT. You can change this behaviour by changing the Luma Mix value from 0.00 to 1.00. These white point nodes are only an approximation intended to be used for look creation. For a real white point conversion a custom Output Display Transform (ODT) that simulates the desired white point needs to be used.
Node 08 is a curve that modifies the standard ACES look to more closely match the appearance of the 2393 PFE LUT curve. The curve lowers the highlights to remove the harshness and opens up the mid to low shadows to reveal more details. It also compresses the blacks slightly to simulate the 2393 PFE LUT toe. You’ll notice this curve lowers the exposure of the image in the same way the as the real PFE LUT.
Node 09 is the same curve as above, but without altering the exposure.
How to use it
Before using the PowerGrade, Resolve needs to be setup for the ACES workflow.

Colour Science
In the Resolve project settings navigate to the Color Management tab. Under Color science select either ACEScc or ACEScct. Both of these settings are identical except that ACEScct adds a toe to the lower part of the range. This prevents the blacks from sticking to zero when lifting them, which simulates the feel of grading standard log material. I prefer this behaviour so I always use ACEScct.
ACES Version
Leave the latest ACES version selected, as of Resolve 16 this is ACES 1.1.
ACES Input Device Transform
Under ACES Input Device Transform (IDT) select the camera used for the majority of the footage in the timeline. If the majority of the timeline is raw footage, this can be left blank as Resolve will automatically identify the camera and apply the correct IDT. If the timeline features a mix of cameras, the correct input transform can be selected in the colour page on a clip by clip basis by second mouse button clicking on the clip thumbnail and selecting the camera from the ACES Input Transform list.
ACES OUTPUT Device Transform
Under ACES Output Device Transform (ODT) select the transform that corresponds with the standard you are monitoring and delivering in. For most projects this will be Rec709. If you’re not using an external reference monitor it’s likely you are viewing the image on a standard sRGB computer monitor. If this is the case you can select sRGB as the ODT. But be aware that monitor calibration is still important and the monitor will need to be calibrated to ensure it actually meets the sRGB standard.
Grading with the 2393 ACES PowerGrade
Once ACES is setup it’s now possible to use the PowerGrade. Generally I treat this PowerGrade as if it was a real PFE LUT. So it sits towards the end of the node graph with most of the grading occurring upstream in the node graph. You’ll see how this works in the sample grades included in the download.
Because of how ACES works I find it’s less common to grade downstream from the PowerGrade. There is less need to correct unwanted tints in the shadows or highlights as they don’t occur as frequently as they do in standard workflows. Because this PowerGrade is working natively within the ACES pipeline it does not clip or clamp image data. So it’s actually possible to grade downstream from the PowerGrade with no penalty if need be.
As with the real 2393 PFE LUT I usually apply a tiny bit of noise reduction in the first node of the node graph. I use Spatial NR with Mode set to Faster, Radius set to Small. Then under Spatial Threshold I unlink Luma and Chroma and leave Luma at 0.0 and set Chroma to around 8.0. This setup is also included in the sample grades.
Once I’ve completed any adjustments to the PowerGrade nodes, I usually select all the nodes and create a Compound node. This groups everything into a single node which takes up less space in the node graph, and makes it easier to copy between shots. But at the same time it is still fully editable if need be.
Support
For support queries relating to this PowerGrade, feel free contact me on support@juanmelara.com.au.